
How to Clean Headphones and Earbuds?
Whether you're using over-ear or in-ear headphones, you should clean them regularly for hygiene and maintenance reasons. This is especially true if you, like many of us, use headphones while exercising.
Sweat can build up and make the earcups smell bad. Earwax can clog your drives, reducing not only volume but also sound clarity. Then there's all the dirt you can't see, like bacteria and other microbes that can make you sick. Clean headphones are more hygienic.
Studies have shown that earphones can increase bacterial growth in the ears, and if earphones are shared, bacteria can be transmitted from one person to another. Even if you don't share yours, think about what your earphones hit and whether you want to put them in your ears.
A variety of Staphylococcus is one of the most common bacteria that can transfer from your ears to your earbuds. An overgrowth of this bacteria can also lead to ear infections. Cleaning your earbuds will help you reduce this risk.
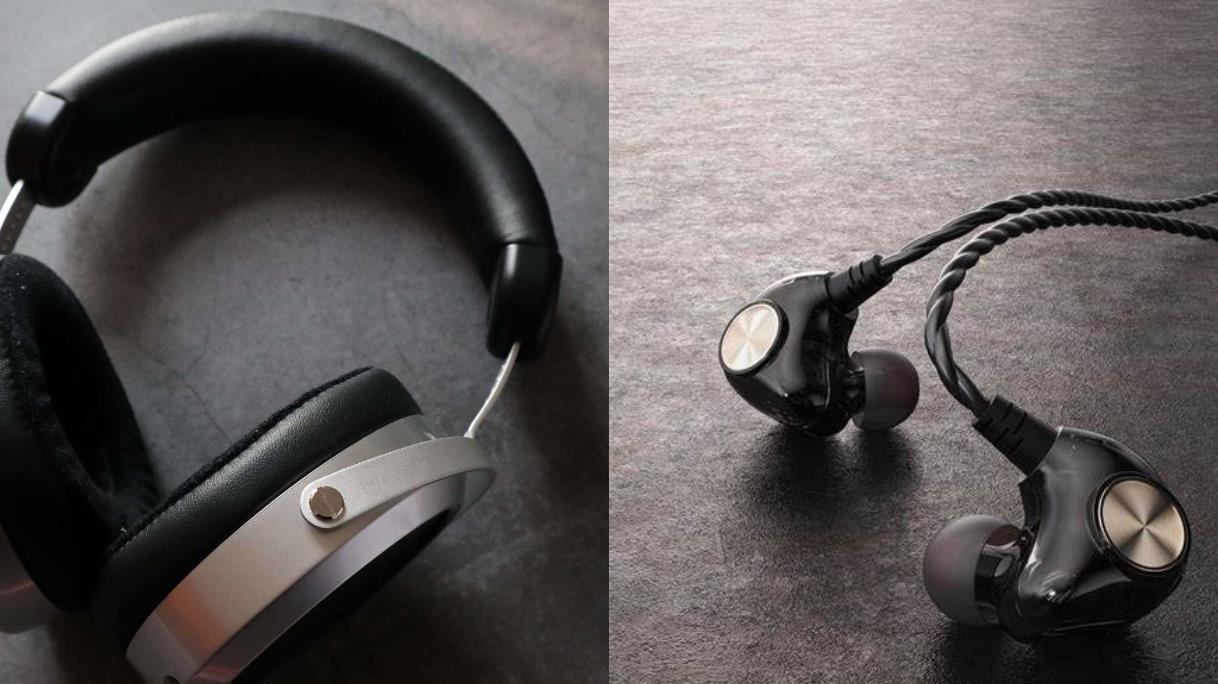
Cleaning the over-ear headphones
How to clean over-ear headphones makes a difference. Many brands are designed with ease of cleaning in mind, with detachable ear cups and cables that can be unplugged at both ends.
Other brands are not as easy to clean, so you need to be careful not to damage them while cleaning. If possible, consult the manufacturer's cleaning instructions.
Follow these steps to clean your over-ear headphones:
1. If possible, remove the ear cups from the earphones for easier access to the mesh underneath.
2. Wipe off any dirt or grime on the ear cups and main headphone unit with a soft damp cloth. Get away as much as you can, because bacteria and other nasty things can cling to the dirt.
3. Wet a paper towel or clean cloth with rubbing alcohol. Clean the entire surface of the ear cups and the rest of the headphones.
4. Dampen a cotton ball or swab with rubbing alcohol to clean any nooks and crannies. Do this on the ear cups (areas of fabric folds, etc.) and the main headphone unit.
5. Pull the headset to its maximum size and clean it thoroughly with a towel or cloth and some rubbing alcohol. Clean any buttons, volume dials or remotes you may be using. When putting on and taking off the earphones, spend extra time in the area where you hold the earphones.
6. Use a paper towel or cotton swab with some alcohol to wipe the grid on the main speaker. Make sure you don't miss any sights.
7. If your headset has a microphone (eg gaming headset), don't forget to clean the mesh and adjustable arms with alcohol as well.
8. Finally, wipe down all cables, including the rubber grips near the jacks, with a paper towel and some alcohol.
Allow the alcohol to dry completely (it should evaporate quickly) before reassembling and using the headset again. If you let the isopropyl alcohol evaporate, it shouldn't leave any streaks or residue.
Cleaning the in-ear headphones
Arguably, in-ear headphones are less hygienic than over-the-ear headphones because you actually place them in your ears. Some earphones sit deep in the ear canal and create a seal due to silicone ear tips. While the sound is unmatched, the risk of ear infections is greater.
If your in-ear headphones have removable silicone tips, remove and clean them individually. The best way is to use warm water and some soap. Be careful not to tear the silicon when doing this. After that, put them in a safe place and let them air dry while you clean the drive.
If your headphones have foam covers, you can also remove and clean them with warm water and soap. Alternatively, put some isopropyl alcohol on the foam and let it evaporate. This will kill any bacteria or microorganisms that may be present.
Follow the steps below to clean your in-ear headphones:
1. Wipe the entire drive with a soft damp cloth. Remove any dirt, wax or grime stuck to it.
2. Use a wooden toothpick to gently remove earwax or other dirt from the speaker grid. Be careful not to damage the mesh when doing this.
3. Heat some adhesive by hand and gently press it into the speaker mesh. Pull it out quickly to remove any dirt or wax, and repeat until the speaker grill is clean. A clean speaker mesh may also improve sound quality!
4. Wet a paper towel or clean cloth with rubbing alcohol. Clean the entire driver, taking care to clean all sensors.
5. Dip a cotton swab in some rubbing alcohol and use it to thoroughly sterilize the speaker mesh. This should help loosen any remaining stubborn dirt.
6. Dampen a paper towel or clean cloth again with alcohol and wipe down any cables, remotes, or rubber grips near the jacks.
7. Allow the alcohol to evaporate completely before placing the earphones in the ear or earphone case.
Clean the case
Some wireless in-ear headphones come with a charging case. It's also important to clean these thoroughly; otherwise, your now-spotless headphones will get dirty again as soon as you put them away.
Remember to remove dirt and grime before sanitizing. Even after you clean the case with alcohol, bacteria and other harmful microorganisms can cling to the dirt.
For the over-ear headphone case, you can use some soap and warm water to spot it clean without soaking it completely. Rubbing alcohol will sanitize the fabric, but you may want to do a field test before doing so to make sure the alcohol won't damage it.
Finally, some people recommend leaving the silicone in the earphone case to keep it fresh. The theory is that reducing the moisture level in the box reduces bacterial growth. This can be a particularly good idea if you often put away your headphones right after a sweaty workout session.
Hygiene tips you need to hear
To keep your headphones in top condition, clean them regularly. Don't let earwax or other dirt build-up. If possible, wipe them down with alcohol-based disinfecting wipes after each use.
Shared headphones (especially in-ears) can introduce new bacteria into your ears and disrupt their natural balance. A certain type of bacterial overgrowth can cause painful ear infections. Therefore, if possible, do not share your headphones or earbuds with others.
Finally, consider cleaning your ears as well. Medical experts recommend that you do not use cotton swabs or any small, sharp objects to do so, as they may damage your eardrum. If it's smaller than your elbow, don't put it in your ear.
Instead, you can wipe the outside of the ear canal with a clean damp cloth. For earwax buildup, you can buy over-the-counter ear drops to soften it. Always follow the directions on the packaging. You can also purchase an over-the-counter ear syringe kit, which uses warm saline to flush the ear canal. The cleaning steps for earphones are described in detail above. If you want to customize or buy earphones, please contact us.
JunYe is a professional custom earphone manufacturer. We provide one-stop service, design-development-production and shipping. It has more than 400 employees and 60,000 square meters of workshops, specializing in OEM/ODM. We have our own mold center and the whole industry chain: hardware, injection molding, wire, cushion, assembly, packaging. Has 8 production lines, including two professional TWS lines. We manufacture each part in-house to ensure quality and on-time delivery.